
MIXING ENGINEER JAMES MILLAR GIVES HIS TOP TIPS FOR RECORDING A SLICK AND PROFESSIONAL PODCAST SERIES.
In between mixing music projects, I also dabble in the world of podcast recording, editing and production. With more than 700,000 active series currently streaming across all platforms, podcasts have become a huge part of the audio world. Given the sheer amount of podcast series out there, it has never been more important to have high quality audio to make sure your show stands out.
As a mixing engineer I may be biased, but nothing will have listeners switching off (or unsubscribing) quicker than poor or distracting sound quality.
While there are a lot of impressive audio restoration tools, and skilled sound engineers out there that can help improve a bad recording, a good initial recording is the key to a good end result.
Even the most talented mixing engineer will struggle to fix poorly recorded audio in post-production. In fact, many of the noise reduction or audio repair tools that are available, if used improperly, will introduce new and potentially worse problems.
As the saying goes, “you can put lipstick on a pig, but it’s still a pig.”
Luckily, there are some pretty easy steps you can take before getting started that will dramatically improve the quality of your audio and help you produce a sleek and professional podcast.
THE ROOM:
The most important thing to consider when recording is where you are doing it. Even with the most expensive recording equipment, a bad recording environment will produce a poor result.
Soundproof the room:
Microphones can be extremely sensitive. They will pick up noise that you probably wouldn’t normally even think about, so it is important to try reduce as much outside noise as possible. Hanging blackout curtains over windows and covering cracks around doors will help reduce the amount of sound entering the room. If your room is next to a busy road, it may be a good idea to find another space further away that will be a bit quieter.
Dampen the room:
Reducing the amount of sound reflections in a room is essential. Large rooms and hard surfaces will create unpleasant echoes and frequency build-ups that can be picked up by your microphone. To counter this, you want to hang thick and absorbent materials that will stop the sound from bouncing around the room.
To understand where to best place treatment within a room, it is good to have a basic understanding of how microphones pick up sound:
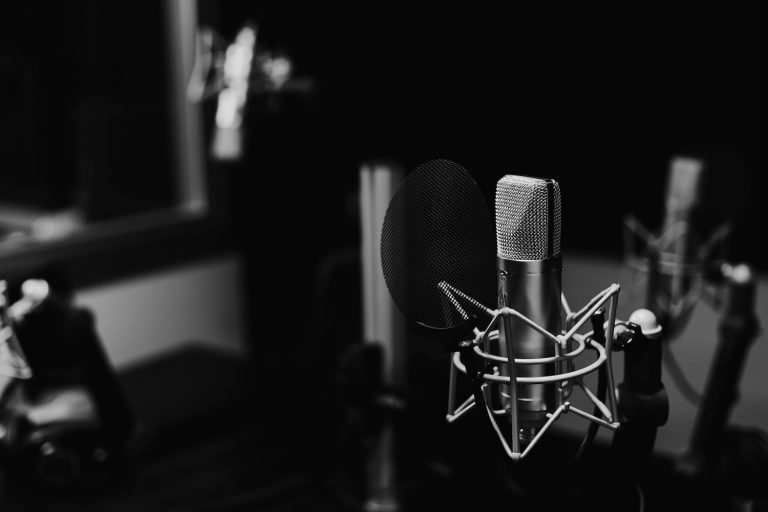
Each microphone has a pickup pattern; this describes what part of the microphone is picking up most of the sound. Most microphones designed for podcasting or voice will have what is called a ‘cardioid pickup pattern.’ This means that the microphone picks up sound mainly from its front, and rejects sound coming from its back (see picture). For this reason, while some dampening will be required behind and beside the microphone, it is important to ensure there is some absorbent material behind the person speaking into it as well, as this is where the majority of sound will be picked up from.

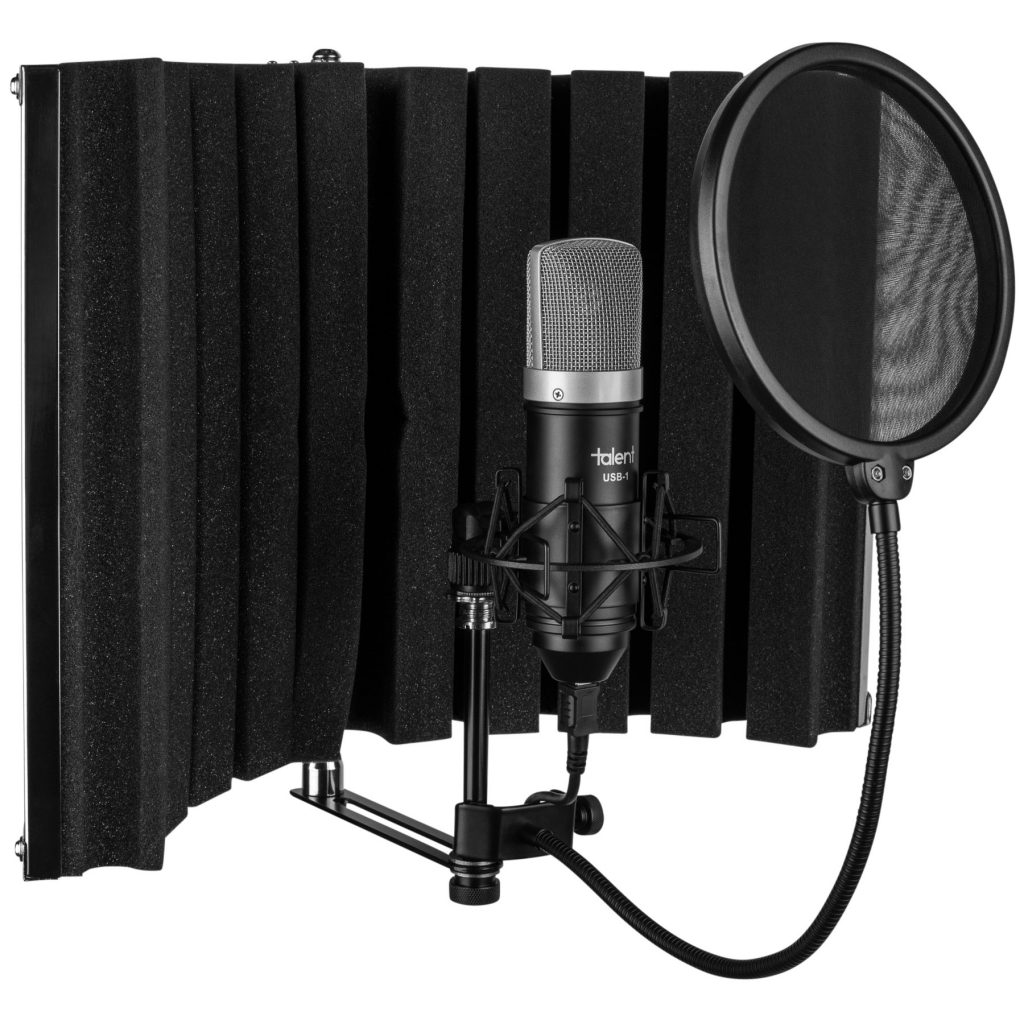
Vocal Booth: One option to counter less-than-ideal room conditions is to create a DIY vocal booth. This requires a bit more work, but the results can be impressive. Effectively, the goal is to create a little cubby of absorbent material that surrounds all or most of the microphone. To get an idea of some booth designs, check out this article from ACX.
Recording Gear
Microphone
A decent microphone can make a big difference in the quality of your recording. The sky is the limit as far as how much you can spend on a microphone. That said, there are quite a few decent budget options for those not looking to start their own mixing engineer studio.
For podcasting, there are two main types of microphone that suit best: A large-diaphragm dynamic microphone, or a condenser microphone.
I won’t get into the technical difference between the two, but generally speaking, a condenser mic is the way to go for a crisp, professional sound (large diaphragm dynamic microphones, such as the Electrovoice RE20, are popular for broadcasting but are more expensive to buy). Just be aware, condenser microphones are also very sensitive!
Another consideration when buying a mic is whether to go with USB or analogue. A USB mic is super convenient and can plug straight into your computer, whereas an analogue mic will need to be plugged into a piece of hardware (called a preamp or interface) first. Traditionally, USB microphones weren’t great quality, but that is changing, with a number of decent USB microphones on the market, such as the Rode NT USB or the Audio-Technica AT2020 USB.
Once you’ve chosen a microphone, if it doesn’t already come with one, be sure to purchase a pop filter as well. This sits between the speaker and the mic and prevents pops – created when powerful sounds (called ‘plosives’) like ‘T’, ‘B’ and ‘P’ are spoken – from overloading the mic. These aren’t expensive and will save you a lot of trouble down the road.
Interface
If you are going to go with an analogue microphone, there are a few options for getting the signal into your computer. If you plan on only using one microphone, a simple solution such as the Blue Icicle, which plugs into the USB port of your computer at one end and into your microphone at the other, is perfect. If you will be conducting in-person interviews and need multiple microphone inputs, something like the PresSonus Audiobox USB will get the job done. Both these options are ‘plug-and-play’ and require very little setup.
Recording Software
The final step of the recording process is having recording software to capture your signal. There are quite a few options around with prices ranging from $0 to $500.
Free options:
- Audacity – free, open-source, cross-platform audio software. Has all the basic functions you will need and is fairly user-friendly
- GarageBand – If you have a Mac, GarageBand is free Apple software you can use for recording.
Paid Options:
- Logic X – Apple’s more advanced audio software, Logic is great for recording and editing audio.
- ProTools – the industry standard for professional the audio and mixing engineer, this high-quality software is built for advanced audio recording, editing and mixing/ mastering.
Once you’ve got your audio recorded, you will need to edit and master it before it can be released. While podcasts don’t have the same stringent audio requirements Audiobook productions do, after all that hard work recording your podcast properly, you still want to make sure you’re maintaining a high standard.
If you know your way around your audio software, you can do this yourself, or you can enlist a quality mixing engineer to do it for you.
Great content! Super high-quality! Keep it up! 🙂